For those looking to learn how to add the perfect etching or engraving onto metal, we’ve got the guide for you! With a rotary tool and some simple instruction, you can create stunning works of art out of almost any metal medium.
A rotary tool is a handy powerhouse for taking on a variety of projects – from engraving metal to more. It offers an interchangeable bit which spins quickly, allowing users to adjust their settings to best suit the task at hand. Engraving with a rotary tool is a relatively straightforward process – all that’s needed is a sharp bit, some patience and a light touch, and the job can be done even by those with little prior experience.
To achieve a precise engraving on metal, make sure the tool’s bit is razor-sharp. Using a dull bit will produce insufficient results as it may cause the rotary tool to stutter. The best way to guarantee success is to equip your rotary tool with a special bit intended for engraving metal surfaces. If you’re unsure of which kind of bit to use, look out for specialized ones designed only for metal engraving.
Once the bit is secured in place, grasp your rotary tool like a pencil and place the tip of the bit onto the metal. Apply gentle pressure and slowly drag the tool along the surface – as you do this, metal shavings will be removed, ultimately resulting in an engraved etching.
Your engraving can be modified to meet the depth you wish by increasing or decreasing the pressure applied with the tool. By shifting the direction of the tool, creative shapes and patterns can be formed, allowing you to express your ideas in a unique way.
Once the engraving has been completed, have the pressure eased off the tool and remove it from the metal’s face. For thorough cleaning, a gentle cloth should be employed to remove any particles of scraped-off metal.
Related Product
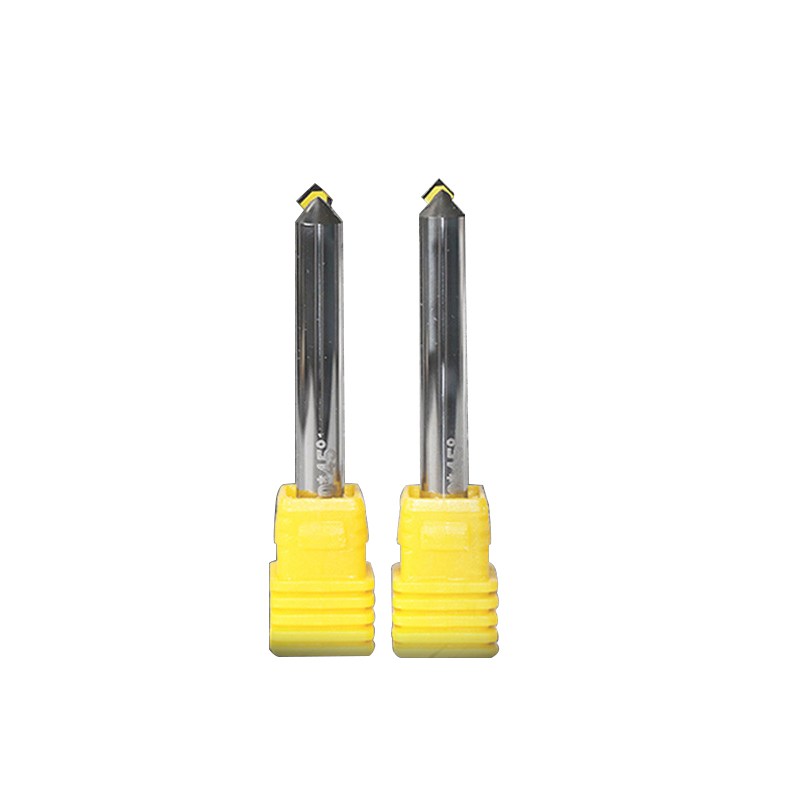
MCD Polishing Cutter for Gold Silver
Product Information Origin Tianjing, China Whether To Coat Uncoated Brand MSK Unit Weight 0.3kg Tool material Tungsten steel bar imported from Germany Product Size Shank Dia […]
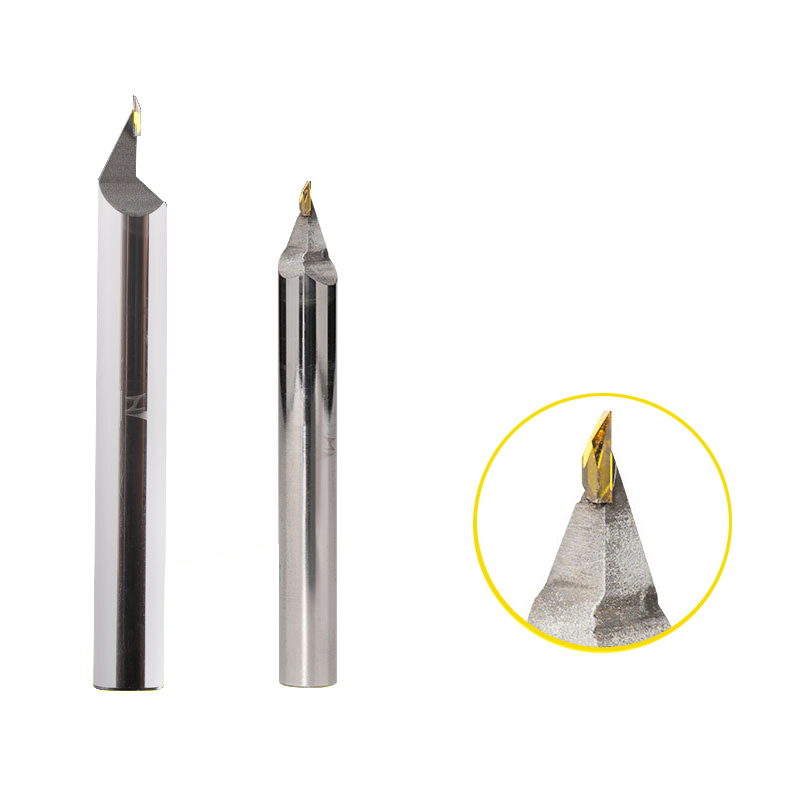
CVD/PVD/MCD Gold Jewelry Diamond Engraving Cutter
Parameter Product Name Single Crystal Diamond Carving Cutter Rotating Speed 10000-30000r/min Tool Nose Width 0.1-6.0mm Feed 1500-5000mm/min Blade Material Single Crystal Dia […]
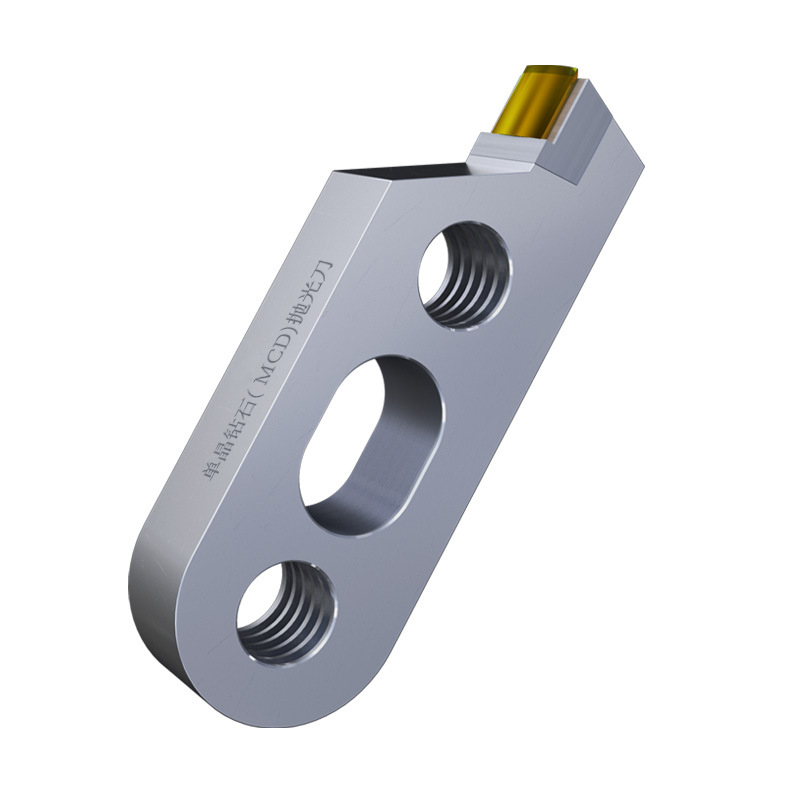
Single Crystal Diamond Polishing Cutter
Origin Tianjing, China Shank Diameter 6 (mm) Brand MSK Blade Change Method The Diamond Is Welded To The Cutter Body As A Whole Material Single Crystal Diamond (MCD) Scope Of […]
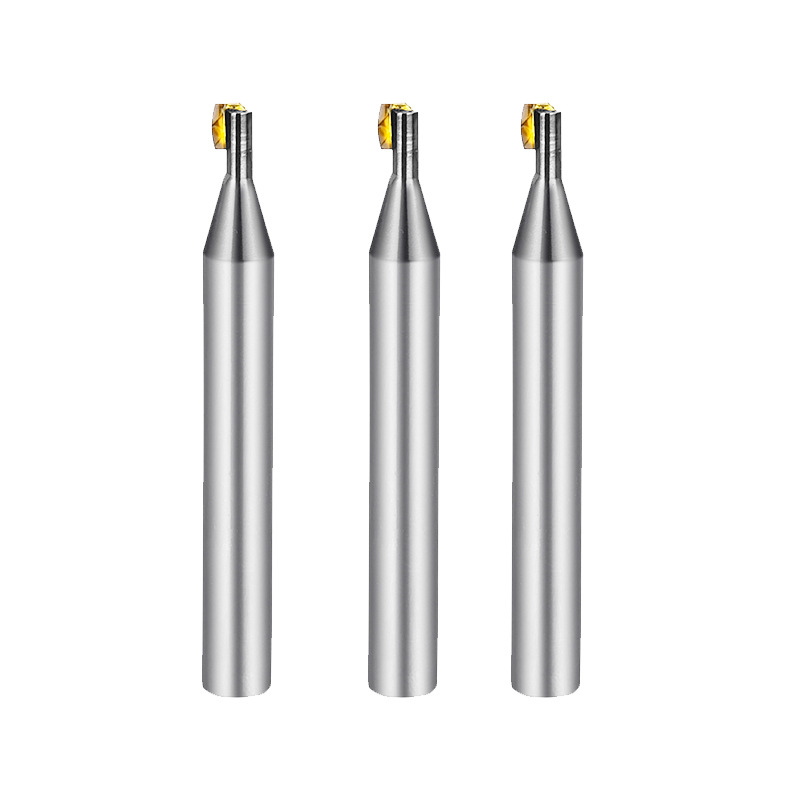
Diamond Turning Tools Outer Jewelry R Cutter
Product Information Origin Tianjing, China Material Tungsten Steel Brand Msk Type Half Round Key Milling Cutter Product Name Single Crystal Diamond Side Edge Arc Milling Cut […]
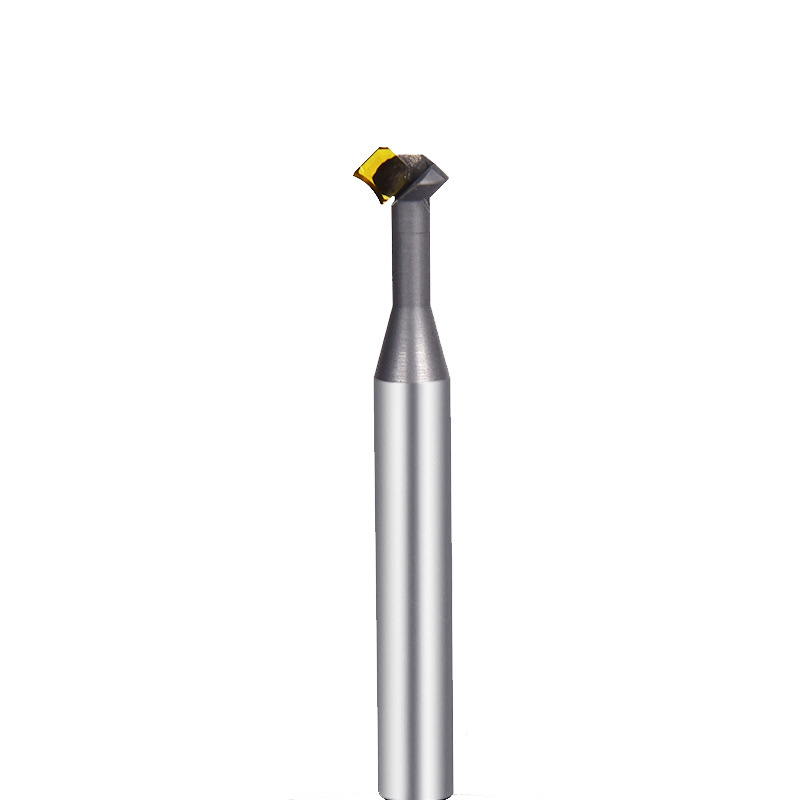
MCD Turning Tool Mirrow Finish R Cutter
Product Information Product Name Single Crystal Diamond Lower Chamfering Inner R Cutter Brand MSK Handle Material Tungsten Steel Blade Material Customized Pcd, Single Crysta […]
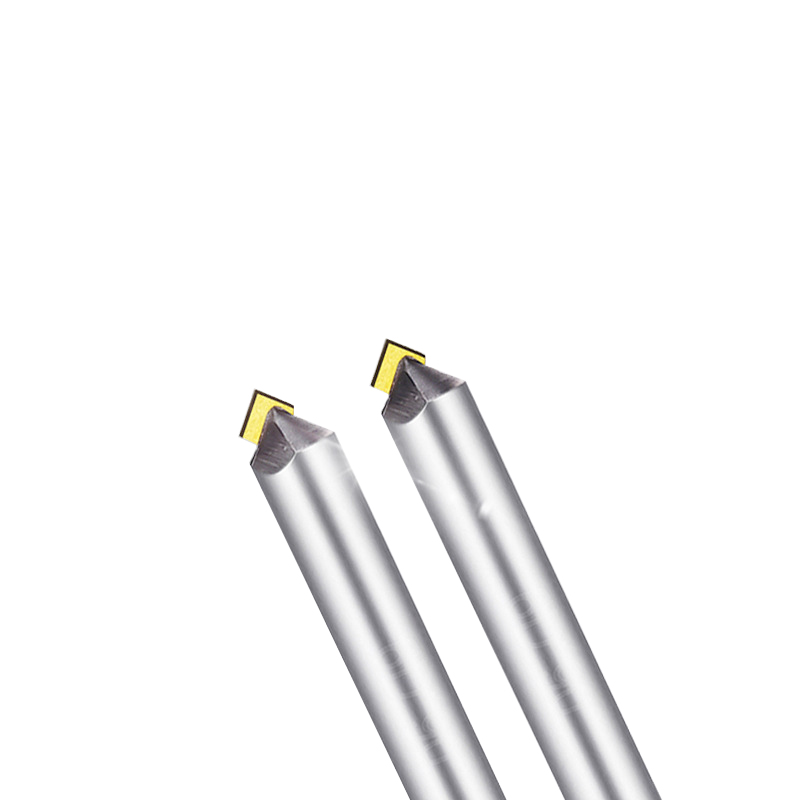
Lathe Bits MCD High Gloss Chamfer Tool
Product Information Origin Tianjing, China Cutting Edge Form Straight Edge Brand MSK Material Single Crystal Diamond Chamfer Angle 30°-180° Type Angle Milling Cutter Minimum […]
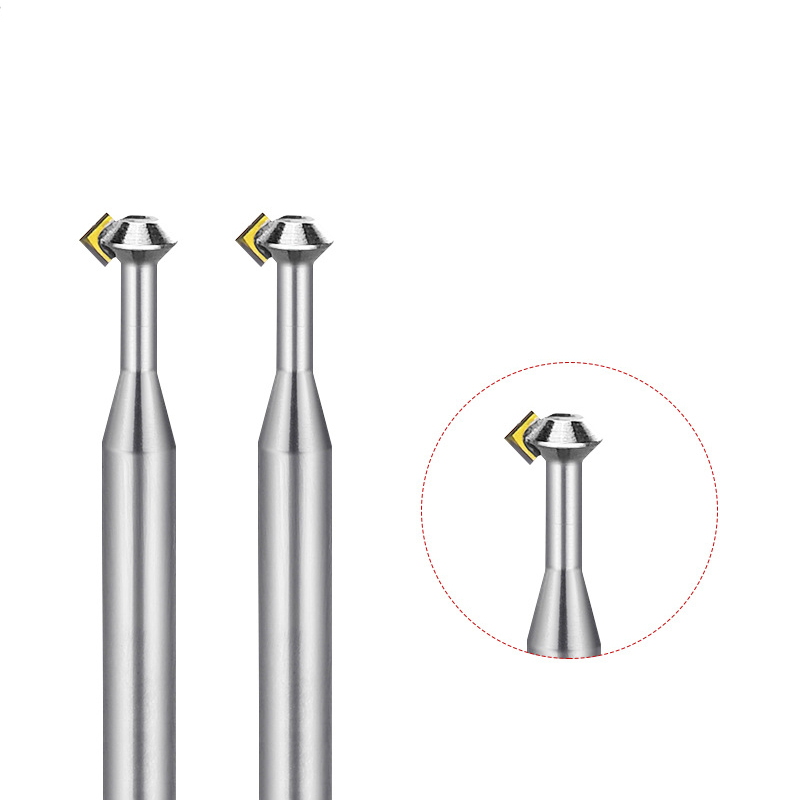
MCD High Gloss Chamfer Cutter For Gold
Product Information Origin Tianjing, China Type Flat Milling Cutter Brand Msk Whether To Coat Uncoated Series Cutter Milling Cutter Processing Range Clocks And Watches, Copp […]
Post time: 2023-06-28


